Showing posts with label mobile suit gundam. Show all posts

Monday, April 11, 2016

Shen-long Gundam

So I picked up a 1/100 scale XXXG-01S Shenlong Gundam at Hobby Town a while back, not for any specific reason and in all honesty I'm not really a fan of the mech. Even in the world of Gundam Wing (yes that is the Gundam Series that gave us a Mecha with feather wings), the Shen-long struck me as being too fantastical and impractical in the real world. Still, for $12 can't complain too much. The model seemed like a good option to practice air brushing on. I know the model, having built it back in the early 2000s. It's mainly primary colors so the paint should be easy to match up.

maverike_prime's 1-100 Scale XXXG-01S Shenlong Gundam album on Photobucket

Update (4-11-16): At the time of this posting, I've had to put the model on hold. I've lost several parts and can not build the rest of the model with out them. I have ordered a second model off ebay, but until that comes in I can't work on the model much more.

Wednesday, November 11, 2015

Project: OZ-13MS Gundam Epyon Part 8

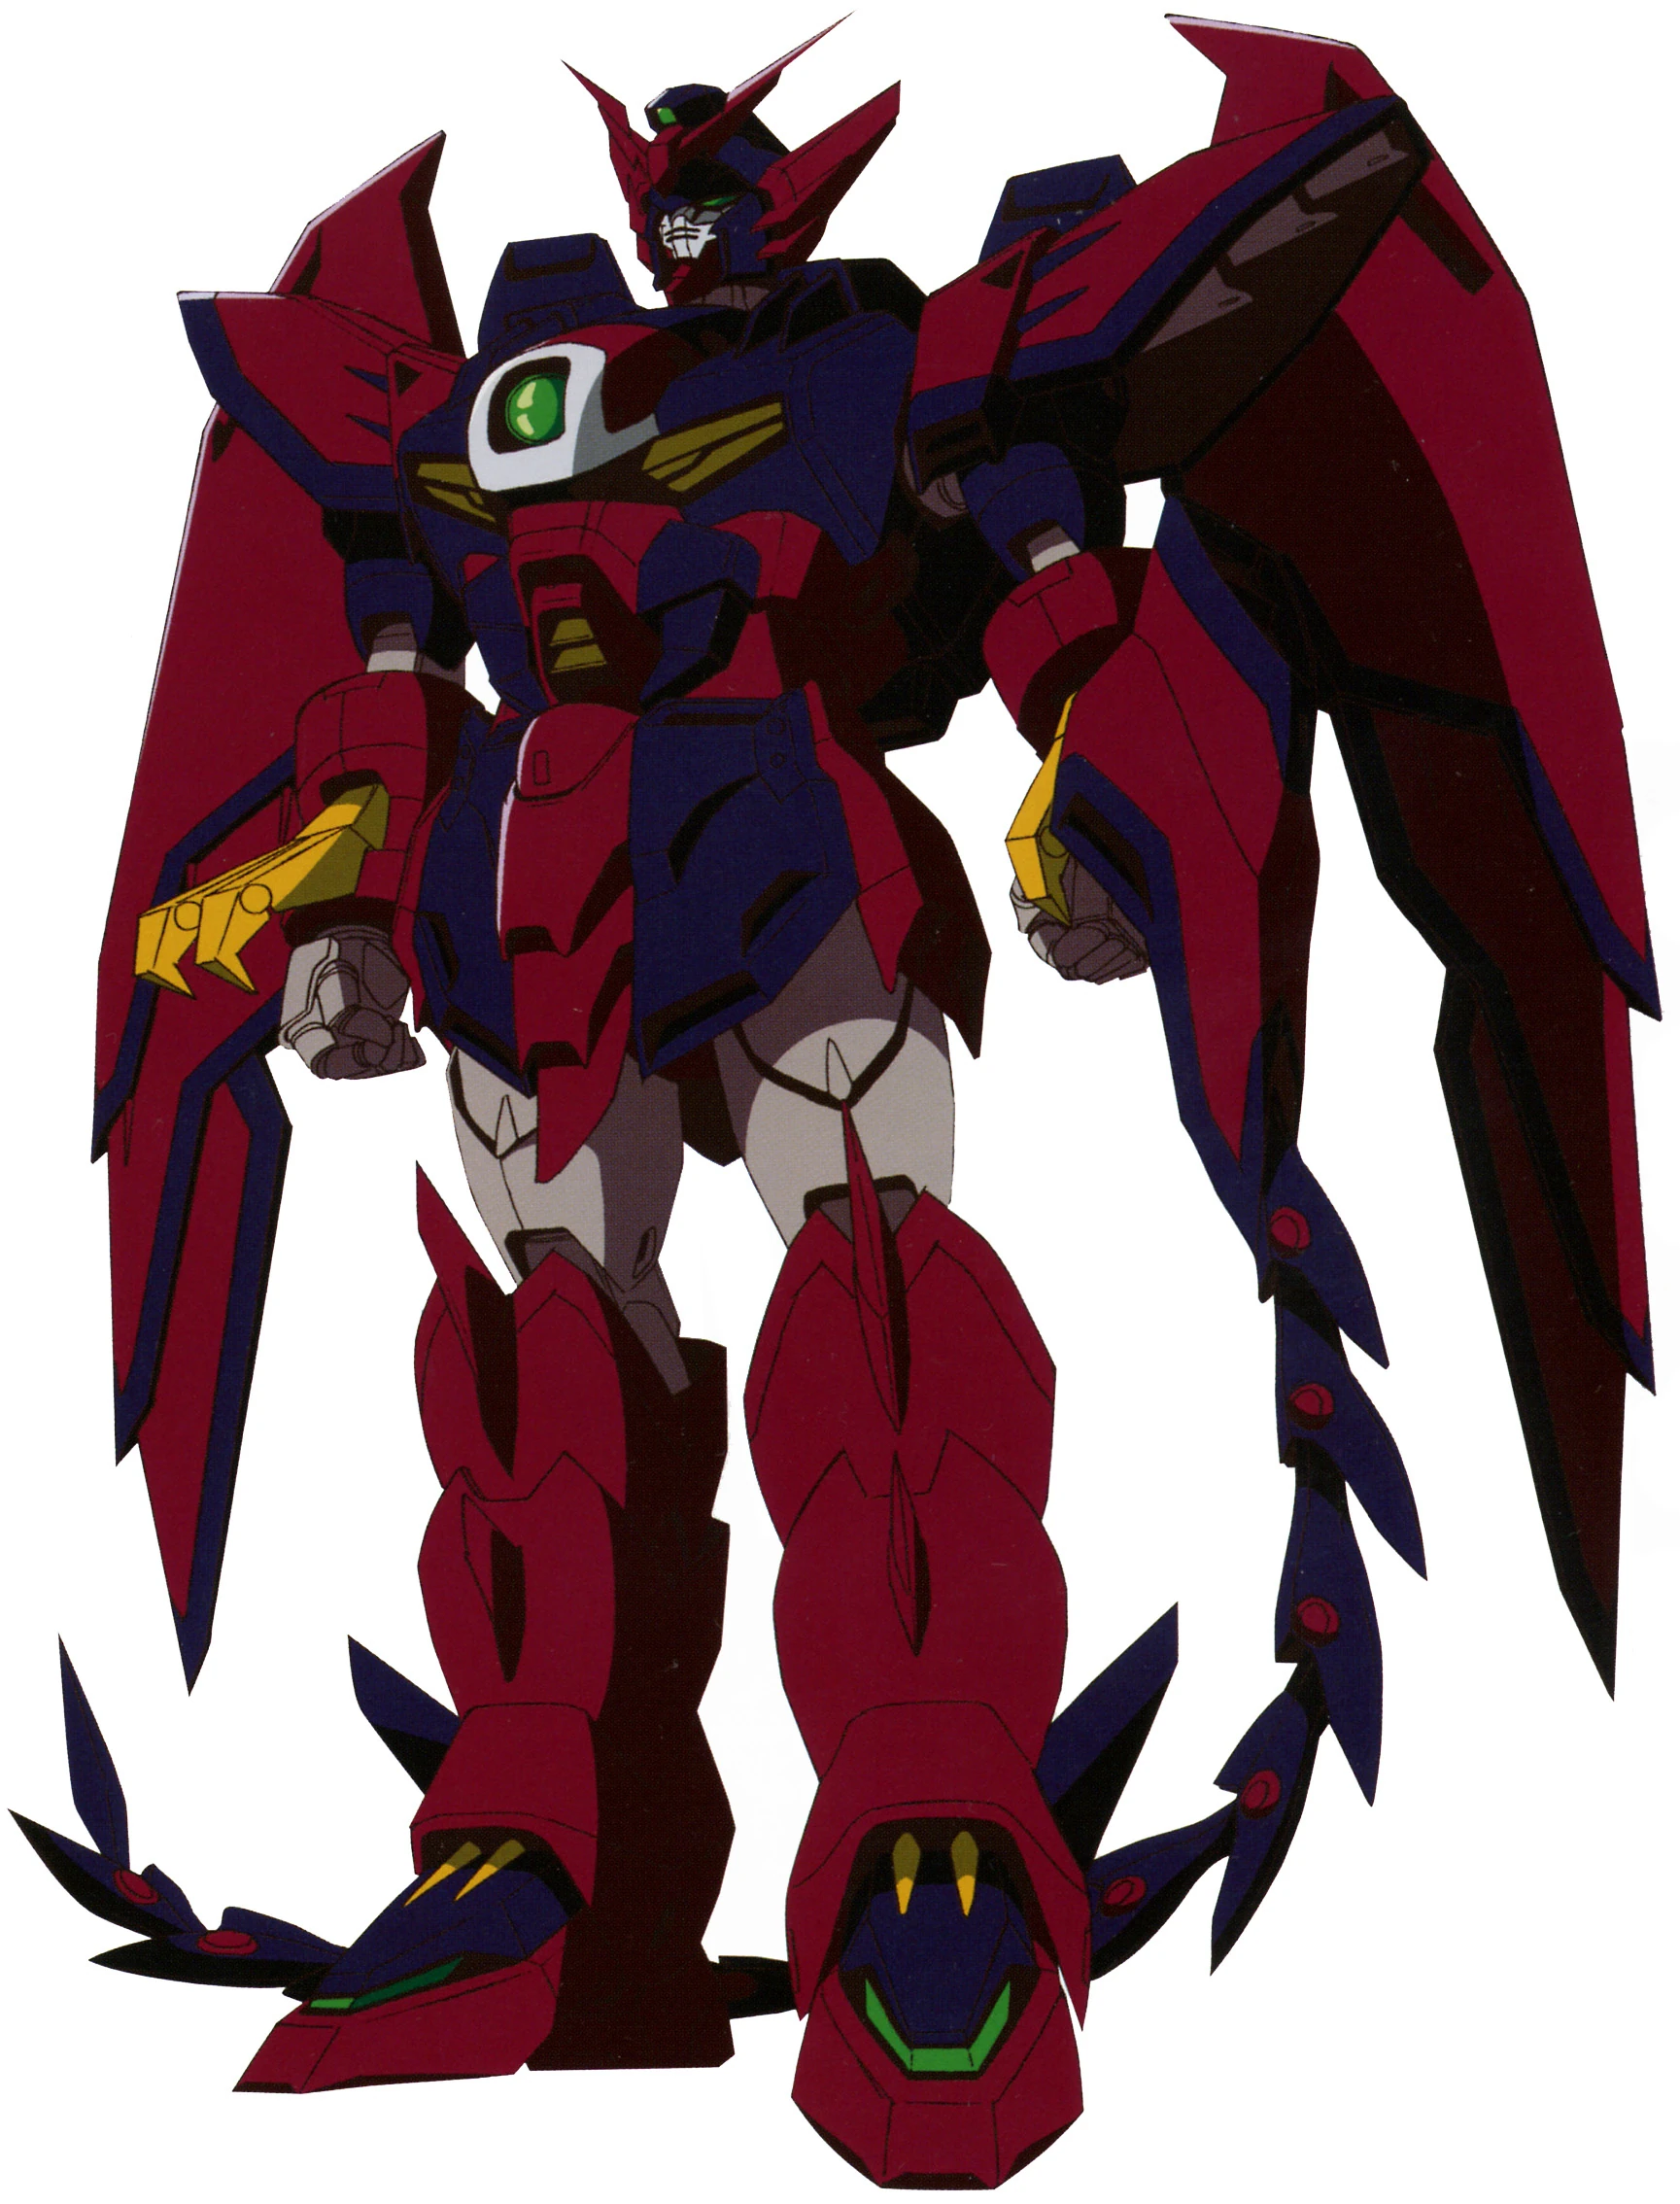
And it's name is Epyon. So here we have the finished OZ-13MS Gundam Epyon on the Libra Base with lighting effects.This was an educational project and I'm glad I undertook it, even if the final result isn't quit what I had envisioned when I began. This is the root of why I run this blog, the analysis and understanding of my projects.

So with a finished project, what problems did I encounter working on it? Well the legs are the first thing that stick out. I mounted the feet too far apart on the Libra base, so this forced the legs further apart. This creates a bit of a bow-legged appearance and hurts the final version of the model.

I had previously talked about the issue with the back of the model, but I want to touch on it again. The root cause of the problem is that I didn't do as good a job of planning for the project as I really could have. The back of the torso has an open slot intended to allow the hips to flip back and allow the legs to comes over the back in order to become the heads of the dragon mode mobile armor. But I removed the ability of the model to transform for this project. So the end result is I basically have a hole in the back of the model. Looking as this, it is pretty straight forward what I should have done. That is first put a layer of styrene in to cover the space from inside, and then add additional pieces of stryrene to fill in the space. Sand it down so it meshes up with the sides of the waist and finally paint it to match the color of the kit plastic.

Monday, November 09, 2015

Project: OZ-13MS Gundam Epyon Part 7

So now we're starting to wrap up this project. Wow has it ever been a trip to get to this point, from experimenting with casting clear resins, to building new sections to replace what would otherwise be moving joints, to modifying existing parts to accept new components. Now it all begins to come together.

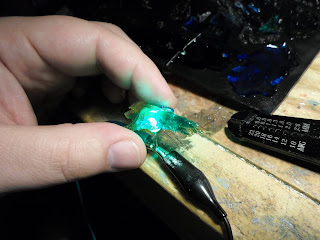
It was a fairly simply matter to cast a new part for the chest gem. I simply attached the original gen sticker to a segment of styrene tubing, and then made the mold based on that part. Unlike casting the saber effect, this was a far simpler affair and required only 2 attempts to get right including embedding the LED in the part.

 Of course putting everything together... that was more of a chore. Here you see the majority of the final connections being made in the chest cavity.
 I should have thought of this before, but alas I did now. The way the model is intended to transform, there is a slot in the back where the hip/waist assembly would fold up allowing the legs to flip over the back. Since I removed the actual transformation mechanism, this space was no longer needed and I really should have covered the slot with styrene and painted it to match the rest of the waist. Sadly this wasn't something I thought of before hand. So if you look closely you will see the wires in the finished model.
 "What? you think I was going to skip arm day?"

I had to use pressure clamps to hold the body together while the glue set. This is largely it. Next time the finished project.


Friday, November 06, 2015

Project: OZ-13MS Gundam Epyon Part 6

So today I'm talking about fabrication. One of the major features of the Gundam Epyon is its ability to transform from mobile suit mode:
OZ-13MS Gundam Epyon in mobile suit mode
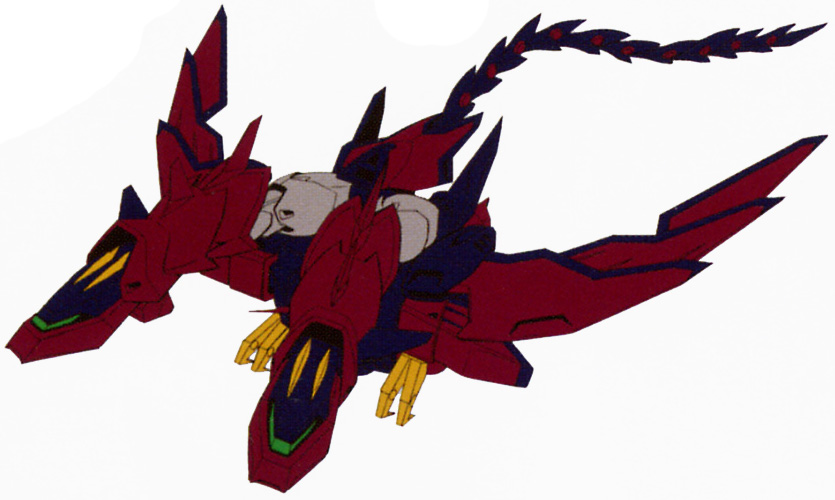
 to a twin-headed dragon style mobile armor:
OZ-13MS Gundam Epyon in mobile armor mode
This gimmick is carried over to the model itself and is managed by way a splitting hip/waist assembly. As far a gimmick trick it's a nice setup, but for my purposes it creates some issues. Specifically the risk of the hinge joint causing the electrical connections to be broken after assembly of the model. So I had to address this by either gluing the hinge shut or reinforcing it. I elected to do both: 
the front section of the hip/waist assembly for the OZ-13MS Gundam Epyon before I installed additional bracing and reinforcing.

the front section of the hip/waist assembly for the OZ-13MS Gundam Epyon with a section of styrene inserted to help reinforce the section so it won't move.
I used a series of styrene tubing I built up a central section that would pass up through the assembly, and then glued a section of 1/4" styrene block into the space behind it. This combination provided a solid base to firmly attach everything together and effectively remove the entire transformation mechanism.


the front section of the hip/waist assembly for the OZ-13MS Gundam Epyon now firmly cemented shut.

the front section of the hip/waist assembly for the OZ-13MS Gundam Epyon now firmly cemented shut.
There were 2 other sections that I chose to make non-moving, the elbow joints. See in the standard model the elbows are made by joining 2 pvc joint pieces so that it will have a 2 axis range of movement. While this is nice, it doesn't help for this project. So I went to work building replacement joints that would be glued into place.

 I started with segments of 1/4" styrene blocks and drilled out holes to accommodate the mounting pegs of the fore arms. I then passed segments of tubing through the upper portion of the blocks that would match the mounting holes in the upper arm. I added some groove slats to the back side of the sections to add some visual detail. With the parts glued in place, some paint finished the fabrication.


Wednesday, November 04, 2015

Project: OZ-13MS Gundam Epyon Part 5

I knew from the start that the giant beam saber was going to be a critical component of the finished model. I wanted the entire saber effect to glow bright green and that was going to be a challenge. At first I toyed with the idea of inserting a flat LED into the base of the saber effect and running wires through the hilt and into the hip.
OZ-13MS Gundam Epyon from New Mobile Report: Gundam Wing, Beam sader effect with an LED placed into a cut out in the base.
While there was ample space to place the LED in the base of the saber effect, there was the issue of connecting it to the power source. I felt a bit nervous about trying to solder the connections so close to the hilt. So I decided to go with resin casting with the intention of being able to embed a string of LEDs into the saber effect. 

Yeah... working with translucent resins and dyes is trickier then it first seems.
This was my first attempt with green dye and supposedly clear resin. Yeah.... apparently when this company says 'clear' they actually mean 'amber clear'. So adding green dye produces this blue color. Believing I had somehow screwed up the cast, I attempted several more casts with this type of resin, and they all gave me similar blue colors. I turned to Jeff over at Dragon Forge Design for some advise on resins for this purpose. He pointed at at Smooth-Ons Smooth-Cast 327 series of tintable resins. So I ordered a trial pack and the sample pack of their 'So Strong dyes'. Getting tired of trying to do green, and wanting to try something in red. So I tried again with 1 once of the Smooth-Cast 327 and a drop of red dye. And I do mean 'a drop'. I took a tooth pick, dipped it in the red and allowed a single drop to roll off the tooth pick into the resin before mixing it. This combination produced the following:
My a later attempt at casting a replacement saber effect for the OZ-13MS Gundam Epyon from New Mobile Report: Gundam Wing with clear resin. This time I tried red dye.
It is a very solid and very nearly totally opaque red. It looks kind of cool, but it wouldn't work for my purposes. I did try putting a super-bright LED to the red resin just to see how much light did come through. In a totally dark room, with not other light sources what so ever, it just barely glowed at all. Far too dark for what I was going for. So I went back to experimentation working with differing concentrations of dye in the volume of resin. I used rock molds to avoid wearing out the saber effect mold I had made.

I had to expirament with different casting mixes to get a clear color that I felt would work for the saber effect of the OZ-13MS Gundam Epyon from New Mobile Report: Gundam Wing.

I finally settled on an approximate ration of resin to dye by mixing up 1 1/2 ounces of resin and adding about half a drop of dye from the very tip of a pin. Yeah when they decided to call there dye series 'So Strong' they picked the right name. With a good ratio figured out, I went to work building the LED array to embed in the cast. I settled on a series of four flat LEDs to get the proper brightness. It took some finagling, but I managed to get the LEDs roughly in the middle of the mold and the resin properly cast around them.

The finished replacement beam saber effect for the OZ-13MS Gundam Epyon from New Mobile Report: Gundam Wing with embedded LEDs.

The finished replacement beam saber effect for the OZ-13MS Gundam Epyon from New Mobile Report: Gundam Wing with embedded LEDs.

Monday, November 02, 2015

Project: OZ-13MS Gundam Epyon Part 4

"Hey Zecks, Zero is saying you have no future. Is Epyon telling you different?"
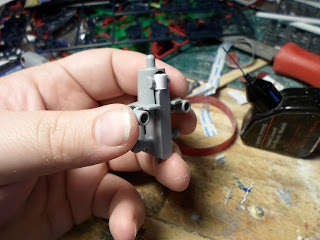
So today I'm talking about the head. Since this a basically humanoid model, you know if you ignore the large wings, the devilish appearing armor and the whip arm that is, the head is a major focus point for the model. Because of this I wanted to put extra care into it's production and preparation.
The first challenge was making space for the LED in the head. I went with a flat topped LED because it's easier to orient. To help direct the light more I painted the back side with silver pant and then came back with several coats of black paint. I wanted as little light leaking out as possible. In order to accommodate the LED in the head I had to cut away the mounting ports that would normally hold the parts of the head together. The next big trick was building a new neck brace for the head. 

Normally the head sits on a ball joint, but with the LED in there the joint would have have to go. So I went to work with some styrene tubing and built a new mounting brace. I took extra care to ensure the negative and positive leads on the LEDs are on the right and left respectively. This way it was going to be easier to connect everything later one. 


Once the new neck was built, I went back in with some Kneadatite modeling putty and filled in the space. I do not want this LED to move at all.

In order to keep the right look, I went in with some paint markers and marked around the eyes of the green clear plastic. This creates a shadow around the eyes and helps to keep the 'sinister' look of it.

Monday, June 08, 2015

30 year old Zaku II: Part 2


The parts of the first generation Mobile Suit Gundam Zaku II kit after having been airbrushed.

Last time I talked about the first part of the process of air brushing the parts for this kit, priming them with the Vallejo acrylic-polyurethane surface primer, pre-shading the parts and then applying the base color of green on the model. So what’s next? Well now we’ve got the second color of green to apply to the model, which means I need to talk about masking the model parts.

Ever paint a room but want to have the trip a different color then the rest of the room? What do you do? You use painters tape to put down a barrier so the two paints don’t go where you don’t want them to go. Masking is basically the same thing. It’s the process of taping off a part to ensure the paint doesn’t go where you don’t it to.

I used the tape to mask off the leg leaving only the knee cap exposed. The tape itself is Tamiyia brand masking tape. It’s essentially 2cm wide masking tape.  Easy to apply, and doesn’t adhere too heavily to the painted section of the model. 
Here you can see a majority of the parts masked and with the second darker green applied on some parts and the black applied on other parts. Well… here is where I encountered my first real major problem. I thought I had properly masked out all of the spots to stop any paint from going anywhere I didn’t want it to. Well.. turns out I over thinned the black paint I used on the knee joints.


 I attempted to fix my error by coming back with the original green paint and brush painting to cover up the black bleed over. Well, brush painting doesn’t put the paint on the same way the air brush does. So the colors don’t exactly match.  That’s why there’s the hard line of different colors on the thigh of the model here. So not a perfect cover up but this project was all about learning so as long as I can ID the problem and look at why the problem occurred I’ll call it a win since it’s something I can avoid doing next time.

So with the air brushing done I moved on to assembly. And this is where I noticed a fairly large error I had made early on. The left leg. More specifically the inner assembly of the left leg. See the inner part of the leg is a support strut that serves as the ankle and the mounting for the front and back of the lower leg itself. The pieces are specific to the right leg and left leg respectively AND they have to go in the right way. So what did I do? Well I put the left foot on the right strut with the strut itself upside down. Ouch. So what did I do? Well I have glued the parts together so I couldn’t just pop the parts apart and switch the parts. Now the problem here is that I couldn’t actually tell that the wrong feet were on the wrong struts, at this point I only knew that I had put one strut in upside down.  So I used my pin vise to drill out the mounting point for the ankle, cut away the few remains of plastic that was keeping the foot on, and turned the strut around while using a piece of styrene rod to rebuild the ankle joint.

So with that leg taken care of, I proceeded to continue assembling the kit. Well here is where I found my largest learning point regarding air brushing. Not so much with the technique, but in regards to planning. See Airburshing doesn’t put down a truly uniform layer of paint. The differences are very hard to see when it’s one continuous application across one part. But I didn’t assemble the parts, beyond the feet and the mounting struts for the legs, before painting them. So what does this mean? Well here is a good example:

The front part of the shoulder armor is a lighter green then the back half, even though they were painted at the same time with the same paint from the same air brush. This is because of the non-uniform application of the paint combined with the uneven application of the black paint in the pre-shading stage. So planning your build relative to how you will paint the kit is a necessity when you’re working with an air brush. 


So got the model painted and assembled. All done right? Well no. Remember that Gouf Custom I did a while back? The big thing there was the application of pigments. Well, I took what I had learned about pigments, from the Gouf, and applied it to this Zaku.


Nothing was substantially different here from what I did with the Gouf save that I didn’t use any white pigment since the Zaku II was primarily a space based mobile suit. Don’t see a lot of concrete in space after all. I mainly used the black and grey pigments to add shading and dirt to the model. The additional discoloration added some more definition to the model.
As an attempt to address the mis-matched feet problem I built a flying stand for the model by cutting a length of brass rod, mounting the rod on a platform and then drilling an accompanying hole into the crotch of the model itself. This allowed me to position the model as if it were floating and mostly hide the feet. 

So a 30-something year old model. First real usage of an Air brush. Applying weathering Pigments. And finally addressing several mistakes and errors. Overall I’m glad I did this project. It has been a worthwhile education and was a real challenge over all.

Friday, June 05, 2015

30 year old Zaku II: Part 1


So I built a 30 year old model kit, the 1/144 scale MS-06 Zaku II. I don’t have an exact date of production for the model kit, only a rough idea that it is a ‘first generation’ of Gundam action figure model kits that was produced prior to 1985 but after 1980. So the kit is somewhere between 35 and 30 years old. Now I have built several Gundam model kits in the past, but the oldest one I had ever built was from the mid-90s so this was a radical departure from my previous experience in the medium.
The early 80's Gundam Model kit of the MS-06 Zaku 2 mobile suit as assembled and painted by The Resurrected Hobbyist.

Modern Gundam model kits make of poly vinyl parts to allow movement at the joints. This kit has nothing even remotely approaching a similar concept. The closest it has, and in this I’m being extremely generous in the comparison, is in the hips where a dedicated hard plastic part facilitates some extremely limited movement ability. This particular project was also new for me because it was my first real effort with an Air Brush.


Preparing this kit for airbrushing was an involved process which started with cleaning the parts in warm water with a little dish soap. I used a tooth brush to clean off any remaining mold release, which considering the age of the kit I would be shocked to actually find any. Still cleaning the parts is always a good idea and triply so if you intend to paint your kit in any form.  Once I cleaned the parts I left them out to dry over the course of a week end.  

After making sure they were dry I came in with my air compressor and blew off any dust that as accumulated on the parts. Then I went to work prepping the parts with various grades of sand paper. Starting with a 700 grit sand paper I made work across all the surfaces of the model. I then came back with 1000 grit and cleaned that up, then followed that with 1500 grit and then finally finished up with 2000 grit sand paper. 

All of this was to help clean up the surface of the model in order to properly air brush it. Here we can see an example of a part before it was painted in the acrylic-polyurethane surface primer.
 

the unpainted Zaku rifle from the 80's Mobile Suit Gundam MS-06 Zaku II Kit
It’s sort of a slightly too-bright German camo-green. Which kind of works giving the coloring of the Zaku II from the tv series. Painting the parts comes in a series of steps, the first of which is coating the part in a smooth but even coat of white primer. The second step was using a black paint to pre-shade parts of the model. Here you can see an example of a part that has been pre-shaded.

The back of the 80's Mobile Suit Gundam MS-06 Zaku II model kit having been primed white and pre-shaded with black.Now I will admit I’m new to air brushing, and I will admit to the possibility that my understanding of some of the techniques is wrong, so if you hear something different from what I explain right now don’t be surprised if it’s different. Also, please post a link to the info below in the comments. The entire point of this website is to promote learning and experimentation with models. Now, as I was saying, pre-shading is a process to produce shading and color variation with a model by making use of the transparent qualities of paint. By putting down the white primer coat, and then using the very dark paint to shade sections of the model, the later colors will be darker in those areas while being light where the black paint isn’t present. The best example of the end result I can show is here on the shoulder shield:

The shoulder shield from the 80s Mobile Suit Gundam Model Kit of the MS-06 Zaku II showing the result of pre-shading.
I applied the pre-shading to the shield largely because the shield was otherwise a flat and visually un-interesting surface. Adding the pre-shading helped to break up the plain-ness of the shield. I worked to apply the pre-shading to the majority of the parts, which required that I assemble a means to hold all the pieces between stages. This was accomplish by making a series of mini-mounting arms using small clips and tooth picks. The tooth picks were then mounted on a block of floral mounting foam. This allowed me to quickly switch between parts to paint, while not needing to actually touch the piece.

A selection of parts of the Mobile Suit Gundam MS-06 Zaku II kit being held by home made mounting arms and having been pre-shaded.
That completes today’s post. Monday I’ll continue talking about the air brushing and what I learned from this particular project.