Creating the new beam saber. This is really the crux of this entire project. Most of the 1/100 scale GunPla models come with beam weapon effects molded in a tinted plastic, in the case of the Epyon it is molded in green plastic. But I want to be able to light up the plastic. I had previously tried to accomplish this by carving out a space for the LED inside the saber effect and mounting the LED at the base of the saber effect.
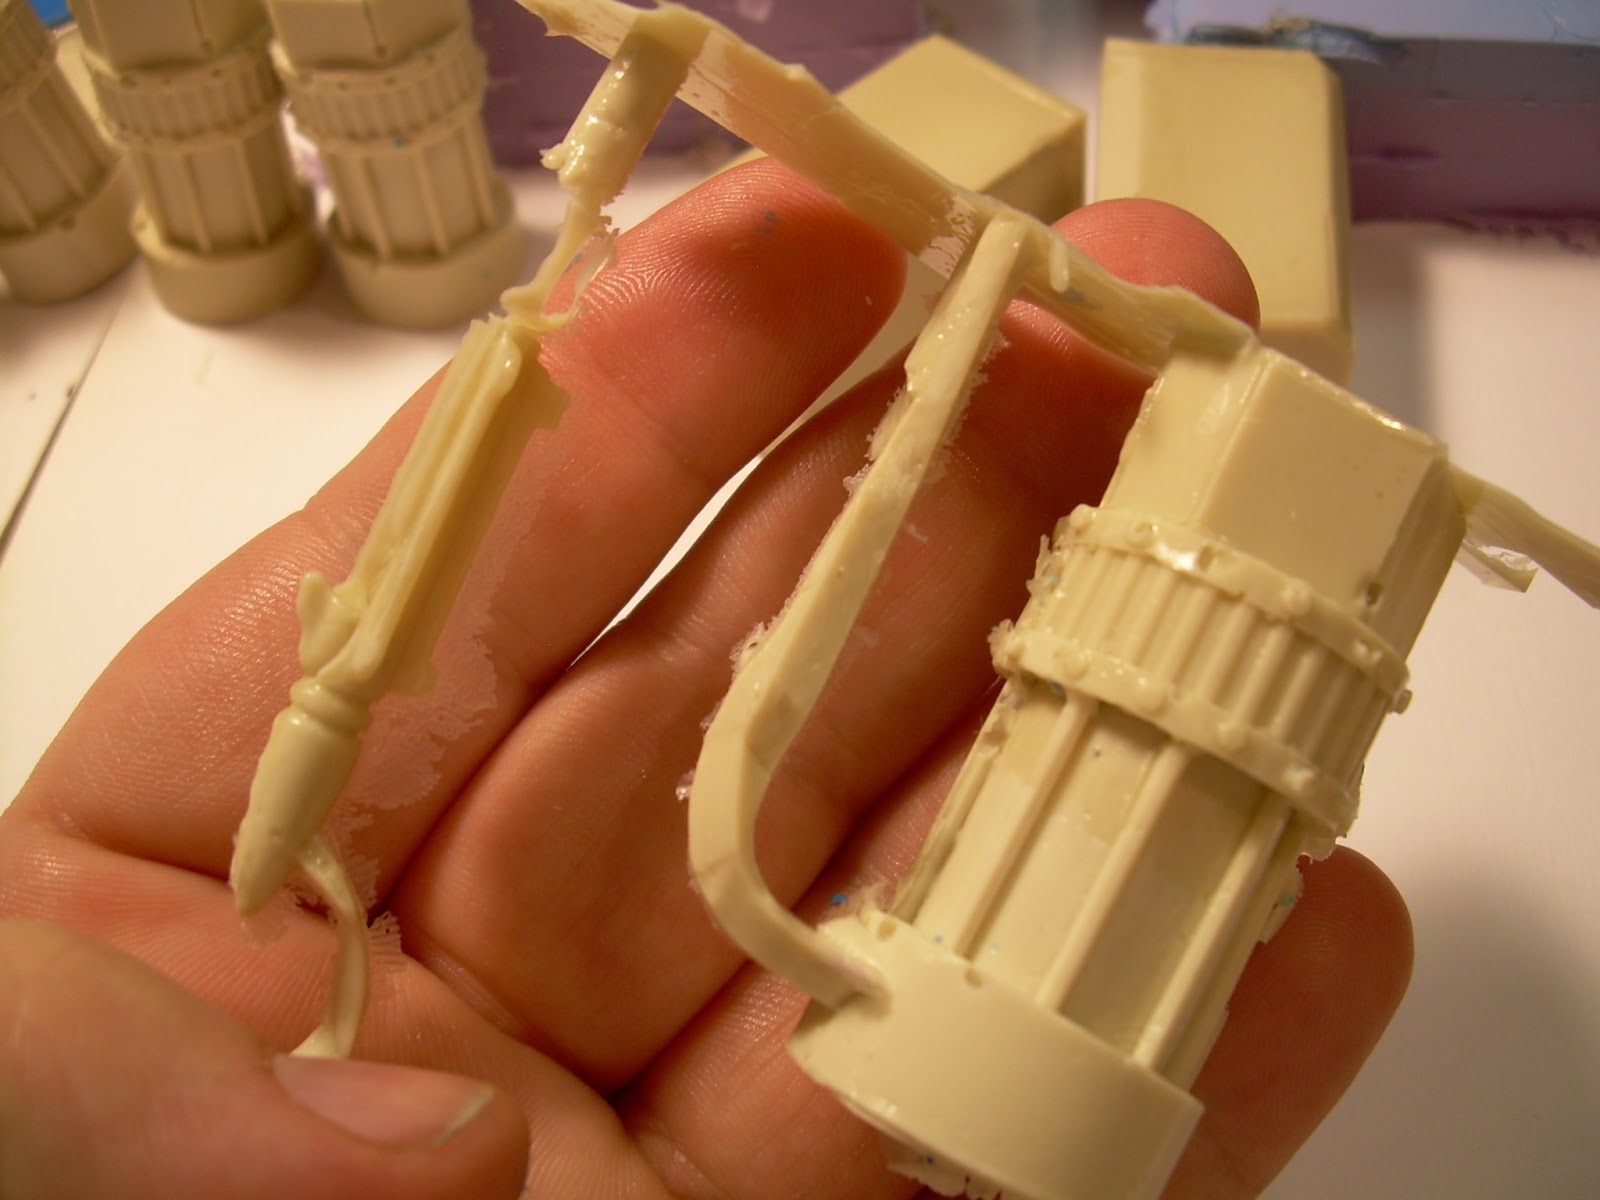
It does work… sort of. But it also brings up a lot of additional problems, the biggest being how do I solder the wires when the LED connections are practically on top of the plastic handle itself and the handle isn’t actually wide enough to survive being drilled through the length to pass the wires through. So I decided to cast the beam saber effect, and the saber hilt in tinted resin. This way I can physically imbed the LED inside the part, rather then having to cut up the part to fit the LED. I can also pre-assemble the LED, resistors and lead wires before embedding them into the resin and then just pass the wires through the cable tube that actually comes with the model.
Now, casting is a surprisingly simple process that can become incredibly demanding over very simple aspects. The Epyon’s beam saber with the saber effect when assembled is a design that emphasizes it’s lateral details while having relatively little vertical details. This is of relevance to the mold making process. The silicone rubber will fill in any space that isn’t sealed off. For instance, where the green plastic beam effect sits in the hilt, the hilt is raised away from the saber effect so if the mold is laid out width wise the rubber would encapsulate the saber hilt and fill that void between the hilt and the saber effect creating a wasted effort of a mold. It would be wasted because I would then have to cut apart the mold in order to remove the original part very likely ruining the mold in the process.
So there are 2 ways to make a mold for the Epyon sword, the first is make the mold with the hilt and saber effect mounted depth wise. This allows the lateral details to be taken very well. The second way is to mount the parts laterally and make a shallow mold. The challenge with this second approach is I have to make sure to filling any spaces that will cause the rubber to encapsulate the original parts.
I made my first effort to create the mold by mounting the saber in the rubber depth wise.
So 2 days later, I had a working 2 part mold for the Epyon beam saber that I can now cast in green tinted resin and embed an LED in it to create the light up saber for the mold. Things are looking good. So I mixed the resin, picked up a bottle of green dye, mixed in a couple drops of green dye to tint the resin green, poured the green tinted resin into the mold, put the LED in the base and then put the green tinted resin filled mold in the pressure pot, sealed up the pot, pressurized it, and left it sit for 6 days so the resin would cure. Yes, the resin I tried this with has a 6-7 day cure time.
This incredibly long cure time is actually a bit of a good thing in this case. When you mix epoxies like resin you tend to mix in air that create bubbles in the resin. With opaque resins this is a non-issue, but with transparent resin it create some visual headaches. So there’s 2 days to deal with this and in both cases it takes a little time and control of air pressure. The first option is to perform a process called “Vacuum degassing” where you put the resin into an air tight chamber and suck all of the air out of the chamber. This causes the bubbles of air in the resin to be pulled up out of the resin. The second option is literally the exact opposite, that is putting the resin in a reinforced chamber that is air tight and increasing the air pressure to between 50 and 60 PSI. The increased pressure crushes the bubbles out of the resin. So both approaches have the same effect, to force the bubbles out of the resin.
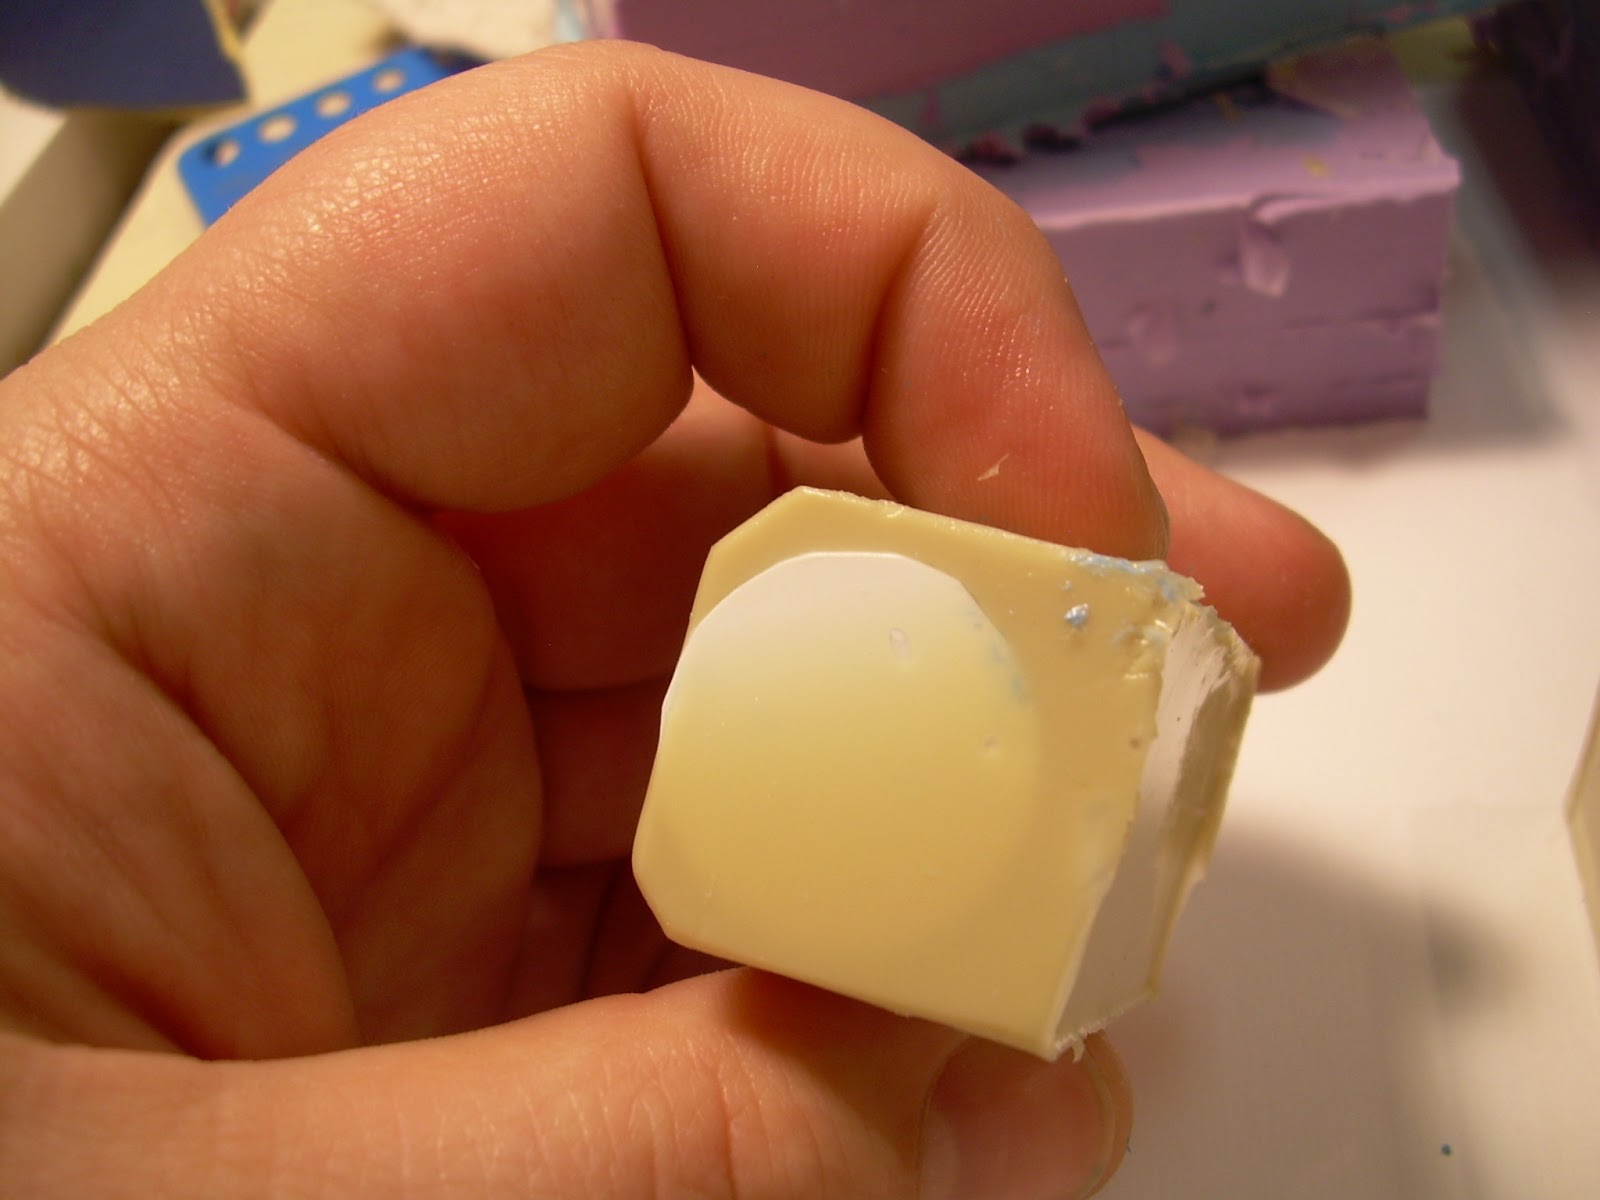
So, a week later I depressurize the pressure chamber, pop the top, pull out the mold, separate the two parts, pull out the part that was cast from green tinted resin and find… that it’s blue.
And has you can see it’s not even like a blue-green or a sea-green sort of dark green… no it’s blue. So… yeah. What the heck?
 |
| I cut out a hole in the beam saber blade for a square LED. |
Now, casting is a surprisingly simple process that can become incredibly demanding over very simple aspects. The Epyon’s beam saber with the saber effect when assembled is a design that emphasizes it’s lateral details while having relatively little vertical details. This is of relevance to the mold making process. The silicone rubber will fill in any space that isn’t sealed off. For instance, where the green plastic beam effect sits in the hilt, the hilt is raised away from the saber effect so if the mold is laid out width wise the rubber would encapsulate the saber hilt and fill that void between the hilt and the saber effect creating a wasted effort of a mold. It would be wasted because I would then have to cut apart the mold in order to remove the original part very likely ruining the mold in the process.
So there are 2 ways to make a mold for the Epyon sword, the first is make the mold with the hilt and saber effect mounted depth wise. This allows the lateral details to be taken very well. The second way is to mount the parts laterally and make a shallow mold. The challenge with this second approach is I have to make sure to filling any spaces that will cause the rubber to encapsulate the original parts.
I made my first effort to create the mold by mounting the saber in the rubber depth wise.
 |
| The first mold setup for the beam saber I made. |
Well I ran into another problem with this approach, well 2 problems actually. First, it takes more rubber to make the mold like this. And by more, I mean close to 30% more. You really can’t make a silicon rubber mold that is narrower than 1” and with as long as the Epyon beam saber part actually, it’s close to 6” long with the larger saber effect; the mold really needs to be 4” wide, if not wider, in order to keep the blade straight. So making the mold depth wise simply didn’t work out and with that I needed to create a new mold this time shallower and wider. I used some clay to fill in the spaces that would otherwise be filled by the rubber.
So 2 days later, I had a working 2 part mold for the Epyon beam saber that I can now cast in green tinted resin and embed an LED in it to create the light up saber for the mold. Things are looking good. So I mixed the resin, picked up a bottle of green dye, mixed in a couple drops of green dye to tint the resin green, poured the green tinted resin into the mold, put the LED in the base and then put the green tinted resin filled mold in the pressure pot, sealed up the pot, pressurized it, and left it sit for 6 days so the resin would cure. Yes, the resin I tried this with has a 6-7 day cure time.
This incredibly long cure time is actually a bit of a good thing in this case. When you mix epoxies like resin you tend to mix in air that create bubbles in the resin. With opaque resins this is a non-issue, but with transparent resin it create some visual headaches. So there’s 2 days to deal with this and in both cases it takes a little time and control of air pressure. The first option is to perform a process called “Vacuum degassing” where you put the resin into an air tight chamber and suck all of the air out of the chamber. This causes the bubbles of air in the resin to be pulled up out of the resin. The second option is literally the exact opposite, that is putting the resin in a reinforced chamber that is air tight and increasing the air pressure to between 50 and 60 PSI. The increased pressure crushes the bubbles out of the resin. So both approaches have the same effect, to force the bubbles out of the resin.
So, a week later I depressurize the pressure chamber, pop the top, pull out the mold, separate the two parts, pull out the part that was cast from green tinted resin and find… that it’s blue.
 |
| So... how does it come out blue? |