Yeah I stuck a bunch of wires in a bread board.
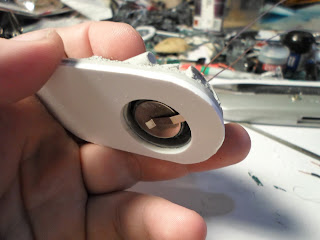
No I've done more then just that. I'm working on a new captain on bike for my Blood Ravens but I'm feeling ambitious so I'm going to wire it up so the head lamp in the bike will light up. Which means it needs power. So using the Heroic Urban rubble bike base, available from Dragon Forge Studios, I took a dremal to the bottom of it to carve out a space for a button battery.
I messed up the messurements and didn't make the opening deep enough to account for the battery clip and the battery itself. So I added a 2mm thick sheet of styreen to the bottom of the base to account for it. All in all I think it helps because I'll draw more attention to the captain who should look more heroic and stand out.
I drilled out the head plate for the ferring and was going to mount the LED in it but then discovered the white LEDs I have are 5mm and 10m, not the 3mm side I need for the mounting. So I'll have to pick up some 3mm LEDs to continue working on this.
Since the bike is going to be attached to the base, and have wires running through it, I specifically went in and glued the wheel halves to the body and then carved out too spaces in the back. one you can see at the front of the rear tire. This is for the wires to come back through the body and connect to the switch in the back of the body. The second space you can just barely see at the top of the rear wheel. That's going to be where the switch will be installed.
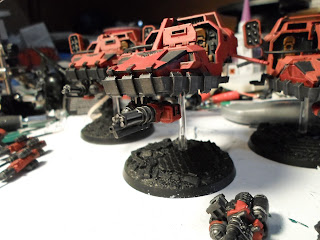
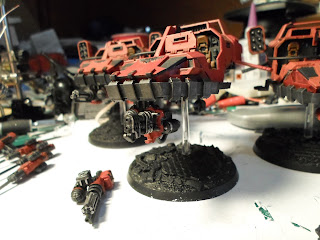
Something else I've been working on: My Blood Raven's land speeder detachment! Here you can see the 3 of them:
I installed magnets in the noses and in the turret bases of the weapons so they can be swapped in an out.
Allowing me to field them with heavy flamers or assault cannons. I need to build the under slung heavy bolters and magnetize those as well.


0 comments:
Post a Comment